
Store setup
The settings you need to get right to sell — store details, pickup and delivery, hours, delivery fees, and getting paid.
This page covers the settings that matter for selling, in roughly the order you'd set them up. It's not a field-by-field reference — it's what to get right first.
Store details and branding
Store settings → Storefront is your storefront's look: Store Branding (your logo), a Banner Image, Brand Colours (a Primary Brand Colour used for buttons and accents, plus an optional Button Text Colour override), a Store Bio, and your Social Media links (Instagram, TikTok, WhatsApp). Terms and Conditions here is shown to customers during checkout — leave it empty to hide it.
Store settings → General → Store Details has the facts: Store Name, your Store Location, and Timezone. Your Store URL and country are set once at creation and can't be changed.
Pickup, delivery, or both
Store settings → Fulfilment has a Pickup switch and a Delivery switch — turn on whichever your store offers. At least one has to stay on. Turning on Delivery reveals the delivery fee options below it.
Hours and closing
For most stores, your recurring weekly schedule — which days and time windows you take orders — lives in Time Slots, part of the Pre-orders section covered next. This section is about closing altogether, for a day or for good.
For a one-off closure — a holiday, Lebaran, anything that isn't a standing weekly pattern — use Accepting orders, the first card on the Store settings page. It pauses new customer orders without hiding your storefront: customers can still browse, but adding to cart and checkout are disabled. You can add an optional Closed message that's shown to customers while you're closed — leave it blank for a default message.
A few stores see an Operating Hours control here instead — an Open and Close time per day, or Closed for days you don't take orders at all. If that's what you see, set your weekly rhythm there rather than in Time Slots.
Pickup dates and time slots
The Pre-orders section, under Store settings → Schedule, is where you set which dates and time windows customers can actually choose at checkout. Turn it on and customers must pick a fulfilment date (and a time slot, if you've configured one) before they can order.
- Available Dates — which calendar dates are open for orders.
- Time Slots — the time windows customers can choose, configured per day of the week.
- Lead time — the minimum number of days' notice a customer has to give.
- Cutoff time — the latest time on the lead-time day an order can still come in. Leave it blank and orders are accepted until end of day.
Some stores see a calendar-style version of this section called Scheduled orders instead — the same settings, laid out on a calendar rather than a list, plus an Order now switch that lets customers pick "ASAP" instead of a date. If that's what you see, the settings above still apply, they're just arranged differently.
Delivery fees
Once Delivery is on, Delivery Fee gives you a few ways to charge for it:
- Free delivery — no delivery fee charged to customers.
- Fixed fee — one flat fee for every delivery order.
- Distance-based — a fee per distance tier, each with a Max Distance (km) and a Fee (Rp). This needs your store location set first.
- Custom delivery — you contact the customer to arrange delivery and the fee separately, outside of checkout.
- Courier delivery (Indonesian stores) — real-time rates from delivery couriers (Grab, GoSend, Paxel, and more), quoted to the customer at checkout. You choose which couriers to offer, and can add a percentage buffer on top of the courier's price. This also needs your store location set first.
Getting paid
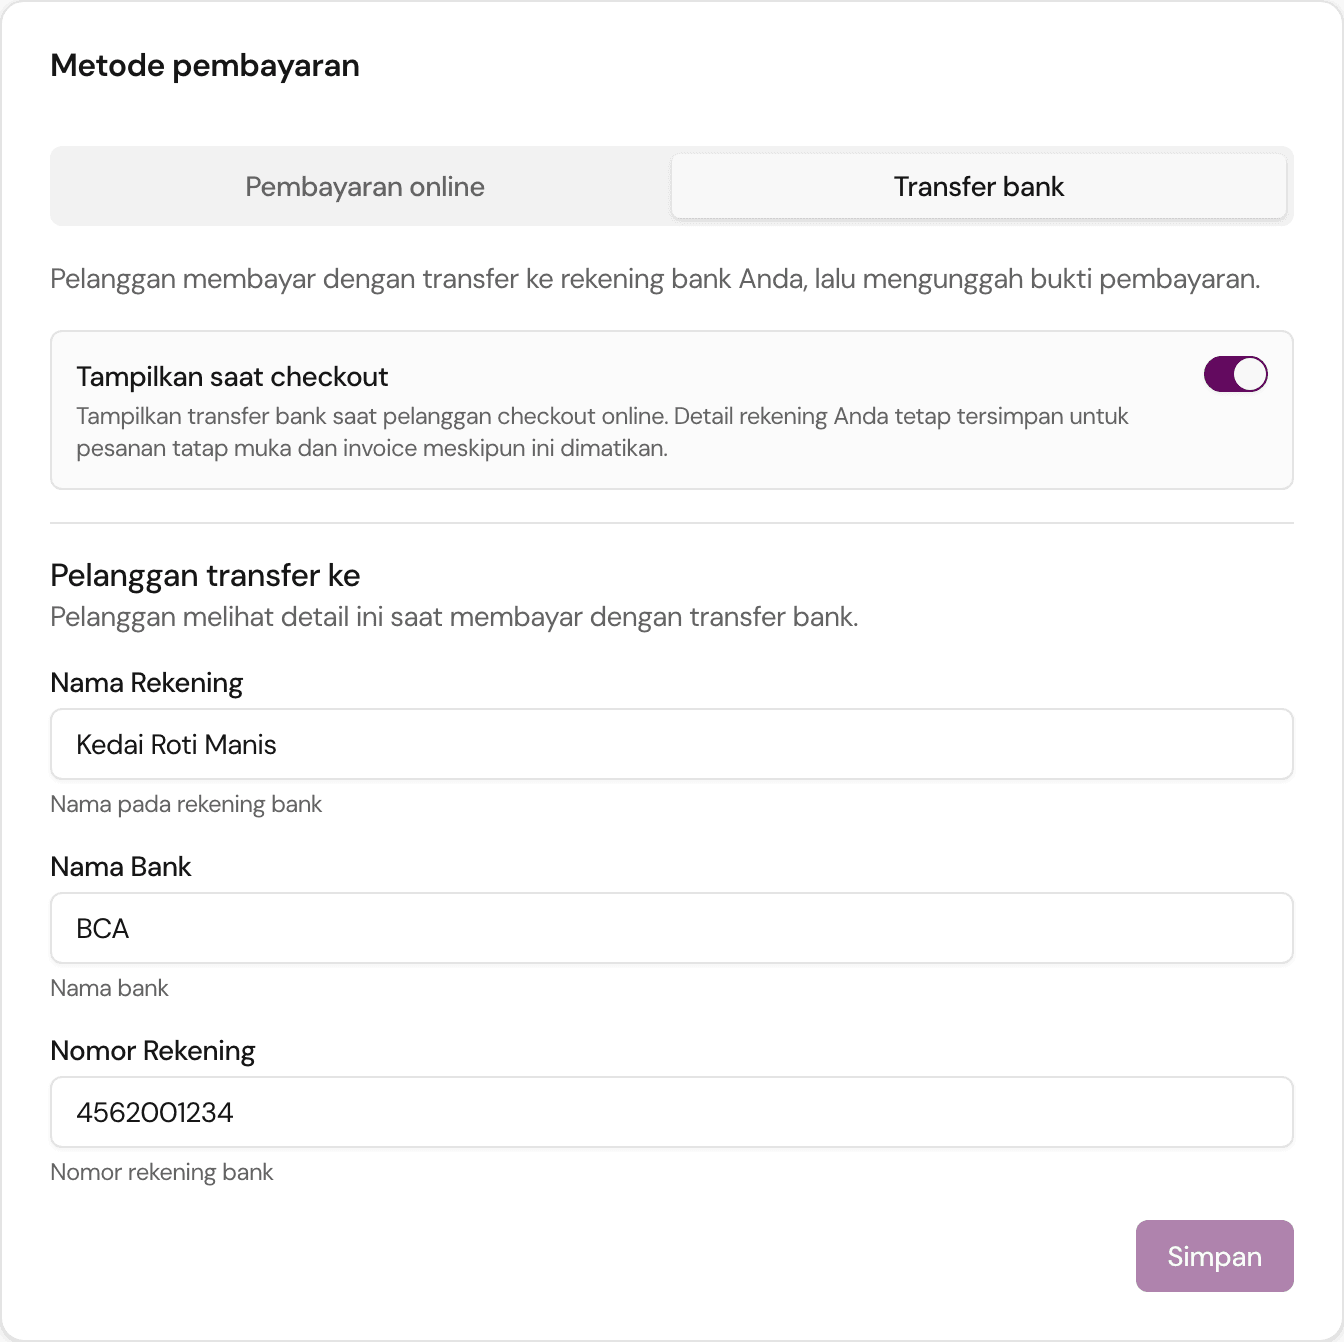
Balance and payments → Bank transfer is where most stores get paid today. Under Customers transfer to, fill in your Account Name, Bank Name, and Account Number, then select Save. The Show at checkout switch above them turns bank transfer on for customers, but it only actually shows at checkout once you've also filled in at least one of those details — it takes effect as soon as you change it, without Save, and your account details stay saved for in-person and invoice orders even while the switch is off.
Online payment methods — cards, e-wallets, and the rest — can be turned on for your store on request. Ask us if you'd like to accept them.
If bank transfer is off — or its account details aren't filled in yet — and no other payment method is connected, customers won't be able to complete checkout at all. Keep at least one payment option live.